
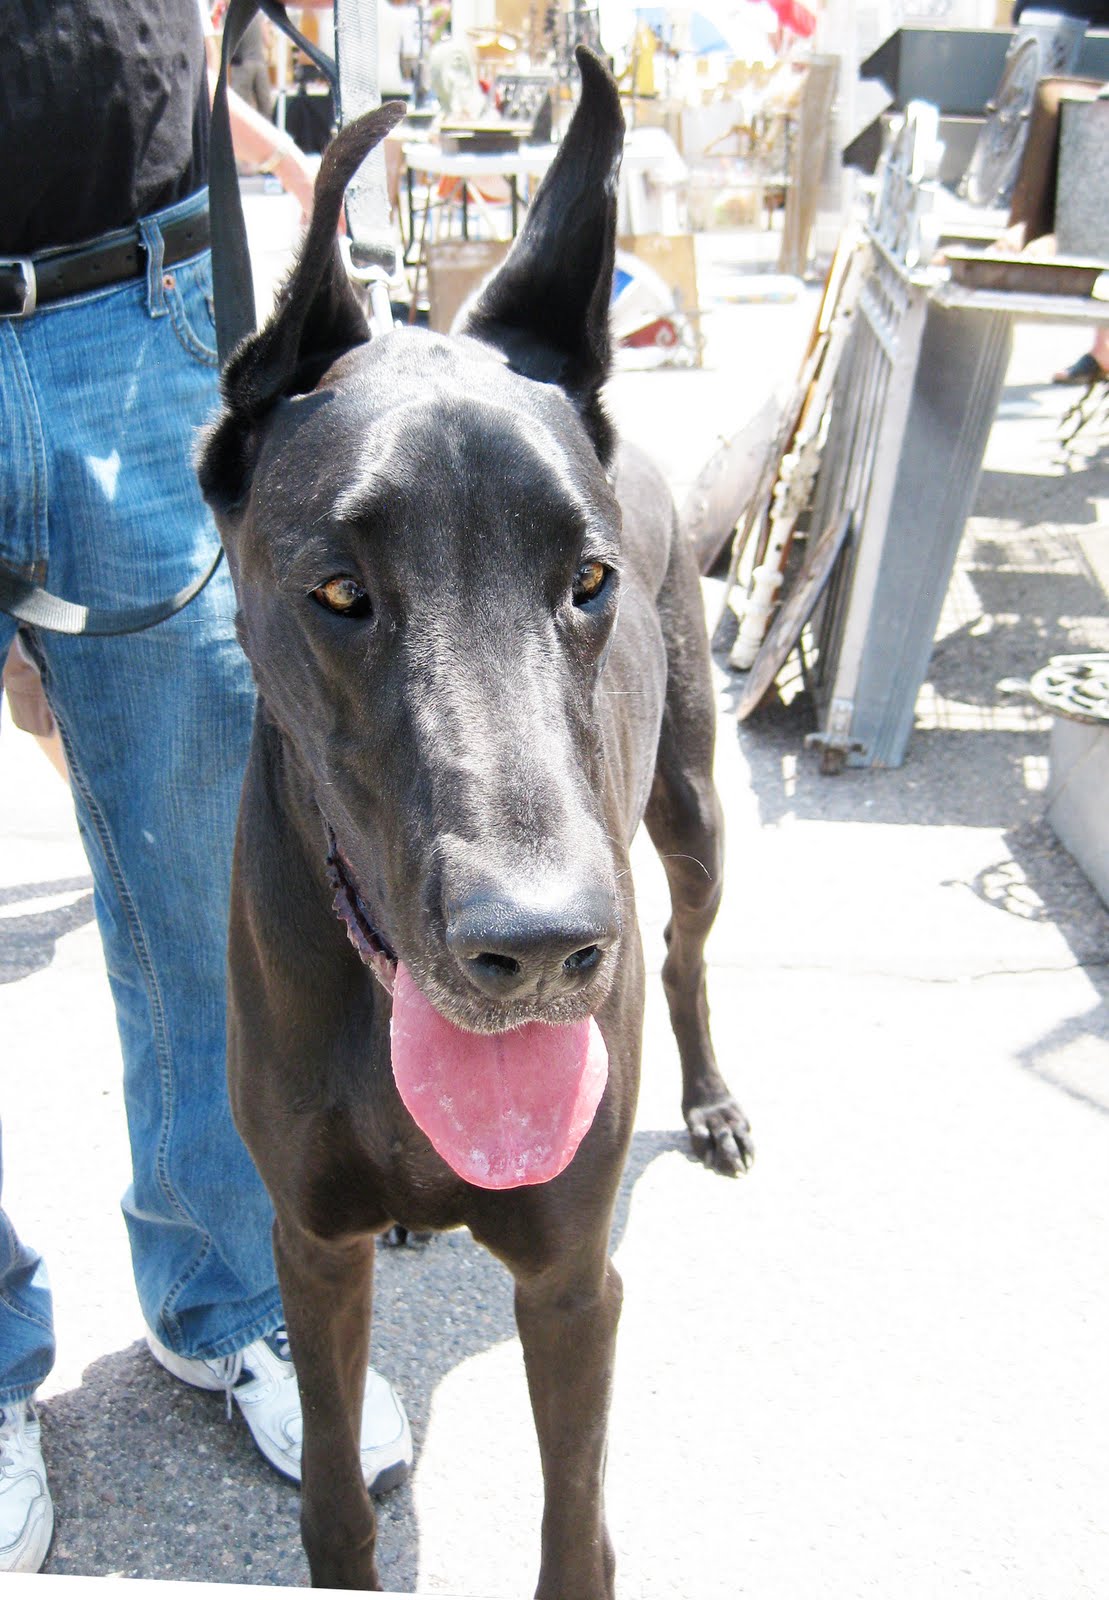
The photos here are a close-up of my painting "Shown Actual Size" and the photo of the Great Dane that I used as its reference.
Because the animal in question here was BLACK, I had to treat it specially. With other animals, using a flash or a bright overhead light has its drawbacks. But for me to adequately see what’s going on with a black animal, bright sunlight or a flash photo can really help.
I photographed this dog on a hot, bright day at around 1 in the afternoon, and, because the light was so intense, I could see planes on the dog’s face that I wouldn’t have been able to see in less bright light.
So that's the case for black animals.
Here are more general tips for lighting your pet photographs:
1--The best possible light for you to use in photographing your pet is outdoor, natural light. This is the case even for indoor pets – but, of course, safety is paramount. So if you are stuck with taking photos inside (say it's freezing out, and you have an iguana, for instance), try to have your pet close to a large window. If possible, have natural light coming in from behind you or to your side as you face your pet.
2--Of course, look out for your SHADOW, or ANY other strange shadows that might fall over your pet in this, or any scenario. I have taken a bunch of photos that I thought were EXCELLENT at the time, only to find that Percy had tree-shadows COVERING his face, making him look like the vein-y Borg queen from that 80’s Star Trek series instead of a happy Golden Retriever!
So just remember, the more detail you can capture in your photograph, the more I can capture in the painting. If your best photo of Fluffy is of a fuzzy black blob with laserbeam eyes, probably the best portrait I can do will be of a similar quality.
So if it comes down to a choice between finishing a painting for a birthday gift or getting a better photo and missing the birthday, I’d SERIOUSLY suggest you wait for the better photo. You’ll have a better painting. And time is just an arbitrary thing...
Um, that's probably enough for a Monday morning, so I'll hold the rest until the next post, when I’ll be covering angles, focus, and positioning of your pet! Right now I have to dash off and buy some birthday presents for my brother, whose birthday, ARBITRARY THOUGH IT IS, is TOMORROW!
Cripes!
No comments:
Post a Comment